
In this blog post, we will discuss how to make a 315 MHz RF antenna. RF antennas are essential components in wireless communication systems, allowing devices to transmit and receive signals wirelessly. The 315 MHz frequency is commonly used in various applications, including remote controls, wireless sensors, and garage door openers. By following the steps outlined in this guide, you will be able to create your own 315 MHz RF antenna, enabling you to enhance the range and performance of your wireless devices.
A 315 MHz RF antenna can be used in various applications. Here are some use examples:
- Remote Controls: Many remote controls for devices such as televisions, air conditioners, and car alarms operate at a frequency of 315 MHz. By using a 315 MHz RF antenna, you can improve the range and reliability of your remote control signals.
- Wireless Sensors: In industries like home automation, security systems, and environmental monitoring, wireless sensors are commonly used. These sensors often operate at 315 MHz to transmit data wirelessly. By using a 315 MHz RF antenna, you can enhance the communication range and ensure better signal reception.
- Garage Door Openers: Garage door openers typically use a 315 MHz frequency to transmit signals from the remote control to the door opener unit. By having a well-designed 315 MHz RF antenna, you can improve the range and ensure smooth operation of your garage door opener.
- Wireless Communication Modules: Many wireless communication modules, such as those used in IoT devices, operate at a frequency of 315 MHz. With a 315 MHz RF antenna, you can optimize the wireless communication range and improve the overall performance of these modules.
Remember to consider the specific requirements and regulations of your country or region when using a 315 MHz RF antenna, as different countries may have different frequency allocations and regulations for RF devices.
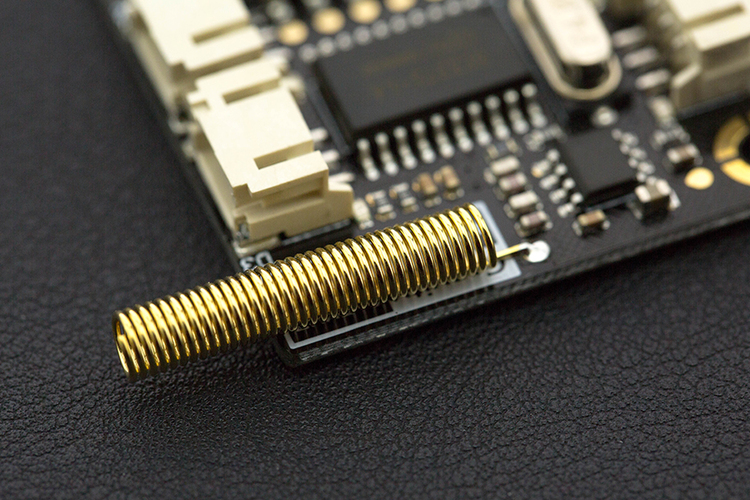
Materials Needed
To make a 315 MHz RF antenna, you will need the following materials:
- Coaxial cable
- Copper wire
- Soldering iron
- Solder
- Wire cutters
- Heat shrink tubing
- Antenna connector (such as an SMA connector)
- Multimeter
- Hot glue gun
- Heat gun
Designing the Antenna
Determining the Length of the Antenna
- Measure the wavelength of the desired frequency (315 MHz) using the formula: wavelength = speed of light / frequency.
- Calculate the length of the antenna by multiplying the wavelength by 0.25 (quarter-wavelength antenna).
Preparing the Coaxial Cable
- Cut the coaxial cable to the calculated length of the antenna.
- Strip off the outer insulation of the coaxial cable, exposing the inner conductor and the shielding.
- Carefully separate the inner conductor from the shielding, ensuring they do not touch each other.
Building the Antenna
Creating the Radiating Element
- Cut a piece of copper wire to the same length as the calculated antenna length.
- Strip off the insulation from both ends of the copper wire.
- Solder one end of the copper wire to the inner conductor of the coaxial cable.
- Secure the connection with heat shrink tubing.
Connecting the Shielding
- Solder the other end of the copper wire to the shielding of the coaxial cable.
- Ensure that the connection is secure and insulated with heat shrink tubing.
Attaching the Antenna Connector
- Solder the antenna connector (such as an SMA connector) to the other end of the coaxial cable.
- Use a multimeter to check the continuity and ensure proper connections.
Testing and Finalizing the Antenna
Testing the Antenna
- Connect the antenna to a wireless device or a spectrum analyzer.
- Measure the signal strength and range of the antenna.
- Make any necessary adjustments or modifications to optimize performance.
A good signal strength and range for a 315 MHz RF antenna can vary depending on the specific application and requirements. However, in general, a strong signal strength is indicated by a higher received power level, while a good range refers to the maximum distance at which the antenna can reliably transmit or receive signals.
To determine the signal strength, you can use a spectrum analyzer or a wireless device with signal strength measurement capabilities. The signal strength is typically measured in units like dBm (decibel-milliwatts) or RSSI (Received Signal Strength Indicator).
The range of the antenna is influenced by various factors such as the power output of the transmitter, the sensitivity of the receiver, the environment, and any obstacles or interference present. A good range for a 315 MHz RF antenna would be one where the signal remains strong and reliable over the desired distance without significant degradation.
It’s important to note that the signal strength and range can be optimized by making adjustments or modifications to the antenna design, such as adjusting the antenna length or position, improving the grounding or shielding, or using a higher-gain antenna.
Remember, these are general guidelines, and the specific signal strength and range requirements may vary depending on your specific application and objectives.
Securing the Antenna
- Use a hot glue gun to secure the connections and prevent any movement or damage.
- Apply heat shrink tubing to the entire antenna for added protection and durability.
- Use a heat gun to shrink the tubing and ensure a tight fit.
Conclusion
By following the steps outlined in this guide, you can create your own 315 MHz RF antenna. This antenna will enable you to enhance the range and performance of your wireless devices operating at the 315 MHz frequency. Remember to test the antenna and make any necessary adjustments to optimize its performance. With your homemade RF antenna, you can enjoy improved wireless communication and explore various applications that rely on the 315 MHz frequency.